Easy Pumpkin Scones
Do you love a good homemade breakfast treat? These Easy Pumpkin Scones are the perfect recipe! They don’t take much time, and your whole house will smell just like a bakery. I’m going to show you how to make this easy breakfast treat you’ll love that is also a great meal prep option for your busy mornings!
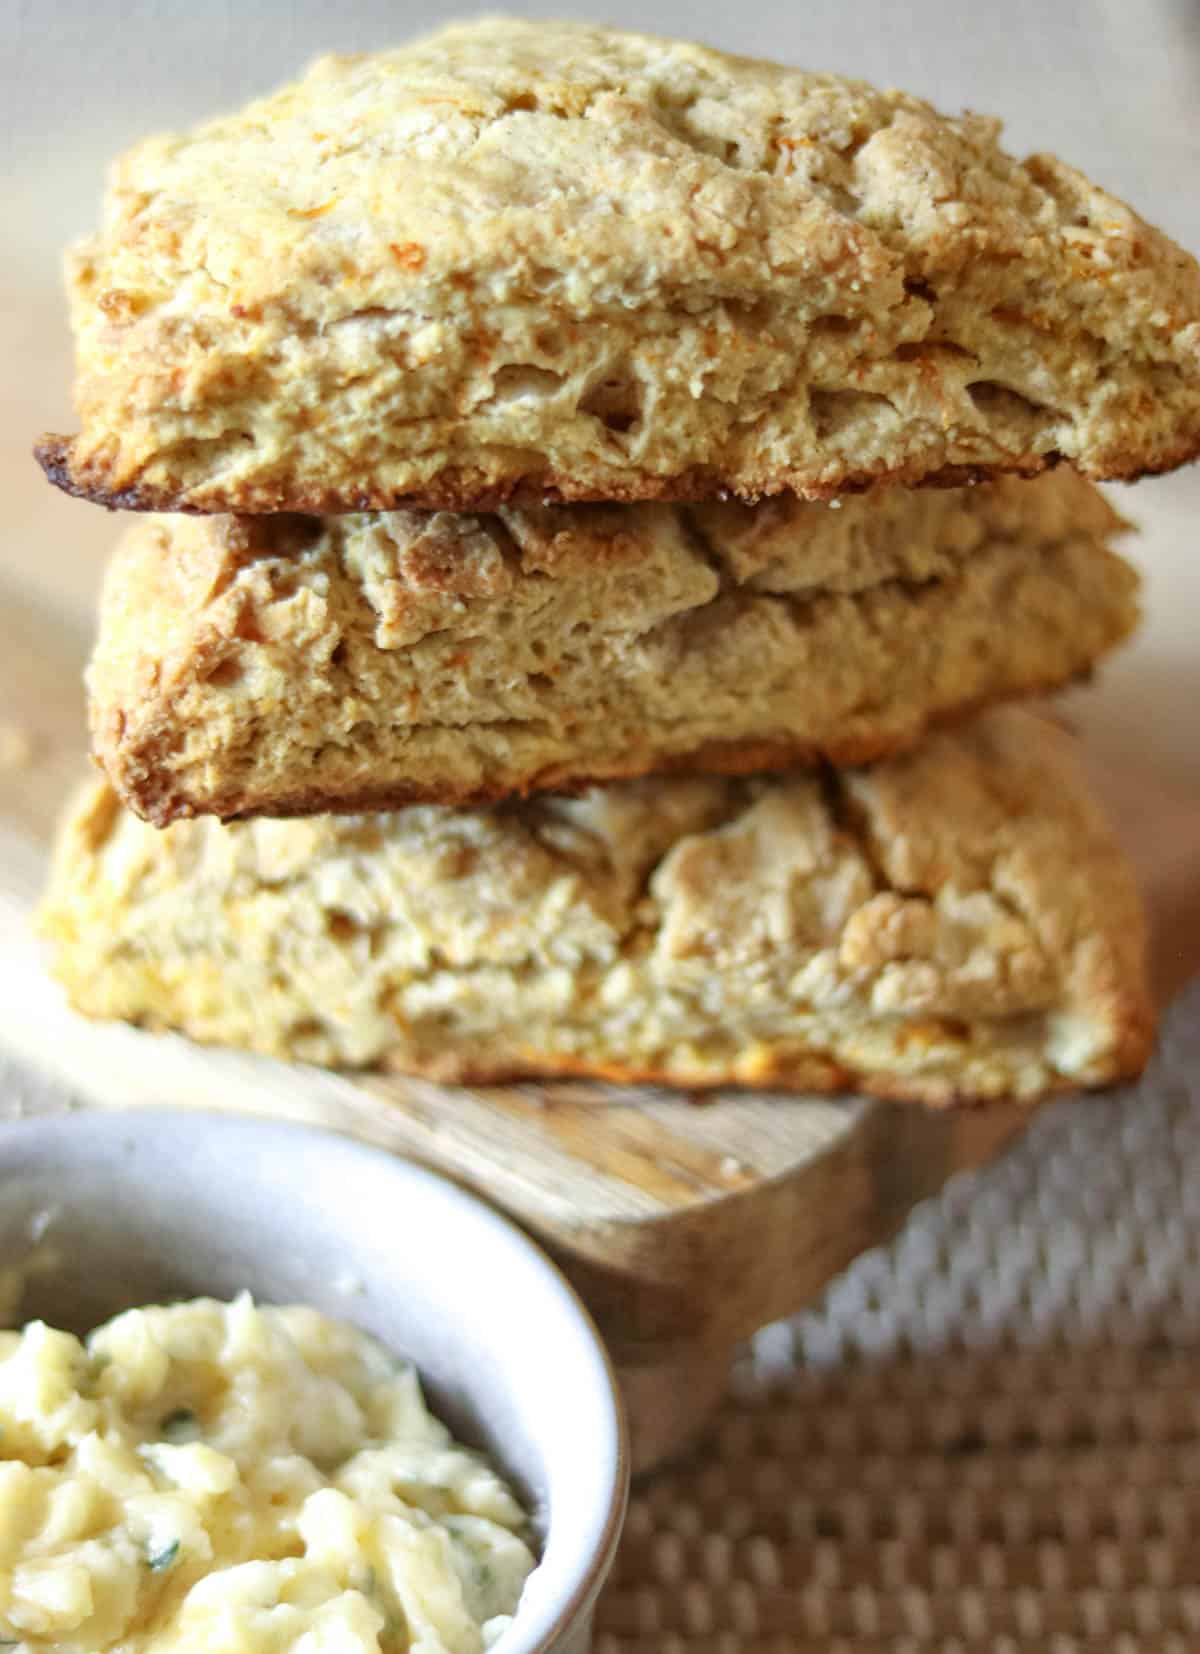
Why You’ll Love These Autumn Scones
What’s not to love about these Fall flavored scones? They are SO easy, and they have all those Autumn flavors you crave: cinnamon, ginger, nutmeg, brown sugar, and last but not least, pumpkin. I can’t think of a better way to start the morning. I bake these several times each Fall, and they are a fabulous use for pumpkin.
I live near many farms that grow pumpkins, and I even harvested them when I worked at a farm. I love working with farm fresh ingredients, and if you do too, then you have found your home here at The Copper Table! I also love cooking from scratch, and these homemade scones are a wonderful way to start making more things yourself. In fact, I have a whole section of the site that is dedicated to scratch cooking! Helping people make great dishes they enjoy eating is something I am very passionate about. To learn more about me and about The Copper Table, I’d love for you to visit my bio page.
What Ingredients Do You Need To Make Scones?
I have not listed every ingredient you’ll need, but this will give you a basic idea of what you will need to make these scones. Head on down to the recipe card for the full ingredient list!
- All Purpose Flour
- Unsalted Butter
- Sugar
- Pumpkin Puree
- Spices
- Heavy Cream
- Salt
This recipe uses homemade pumpkin puree instead of canned. I’ve got a post that shows you how to make pumpkin puree that is perfect for this recipe!
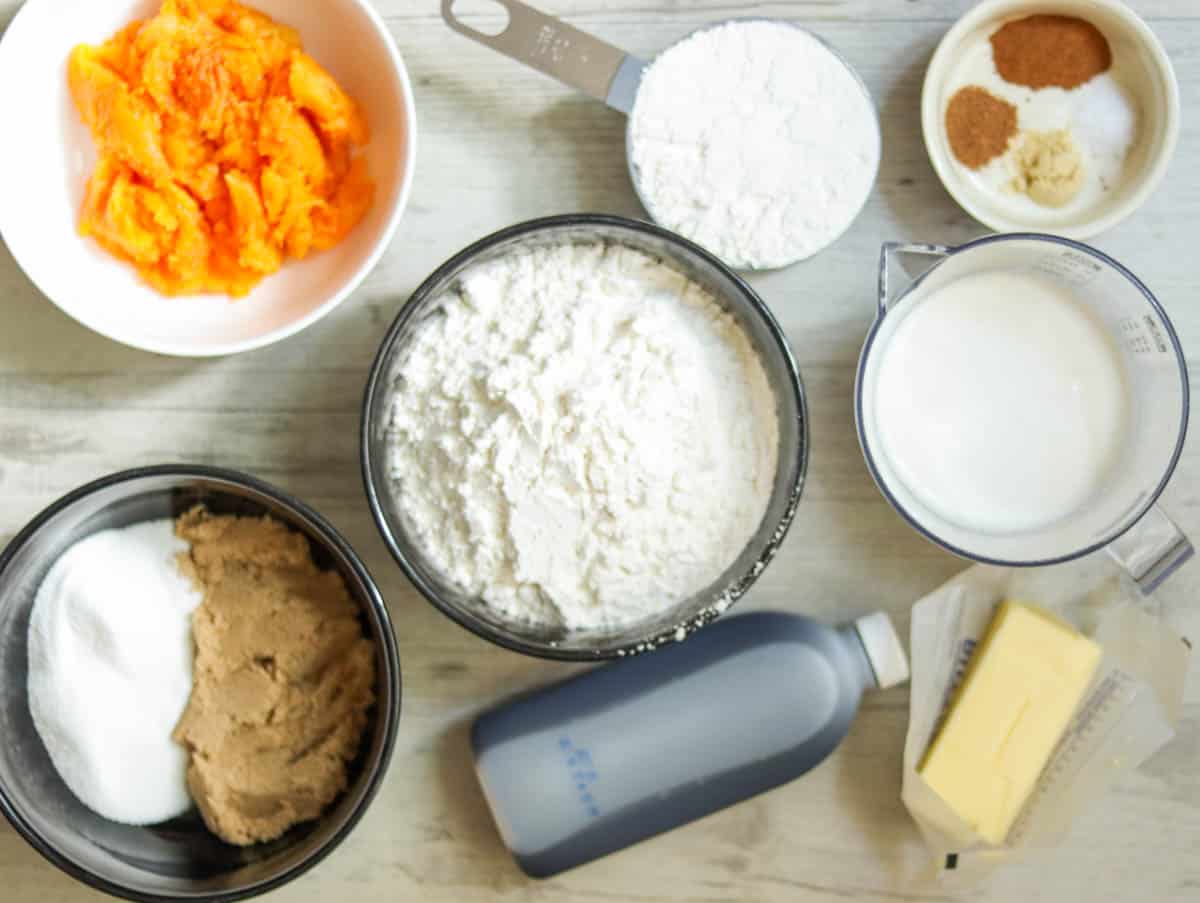
How Do You Make Easy Pumpkin Scones?
Here is a basic overview of how to make these pumpkin scones. The photos show the steps as a guide, and for more detailed instructions please see the recipe card below.
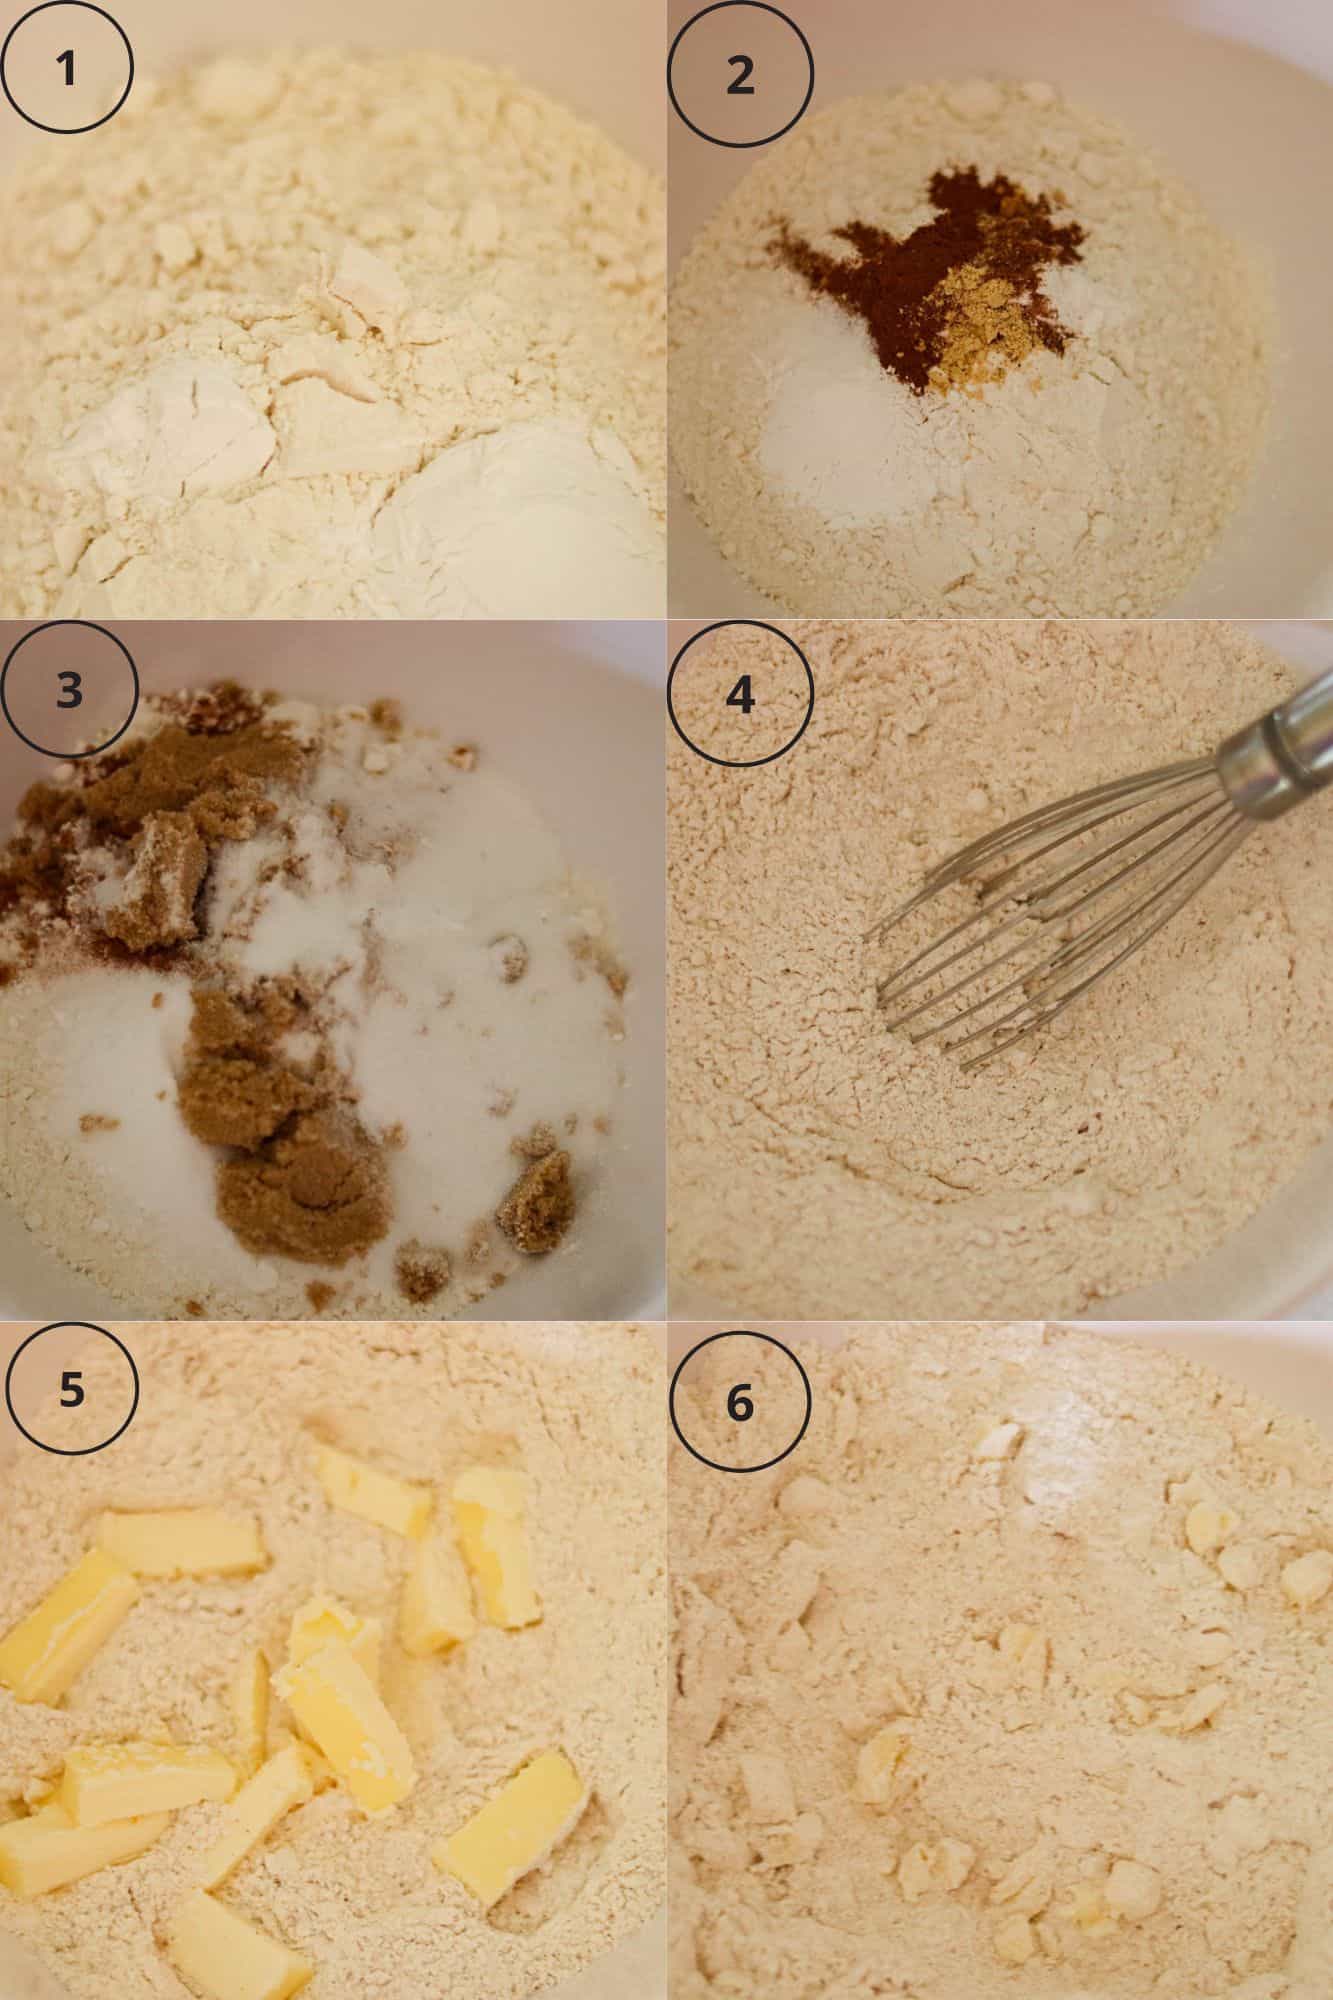
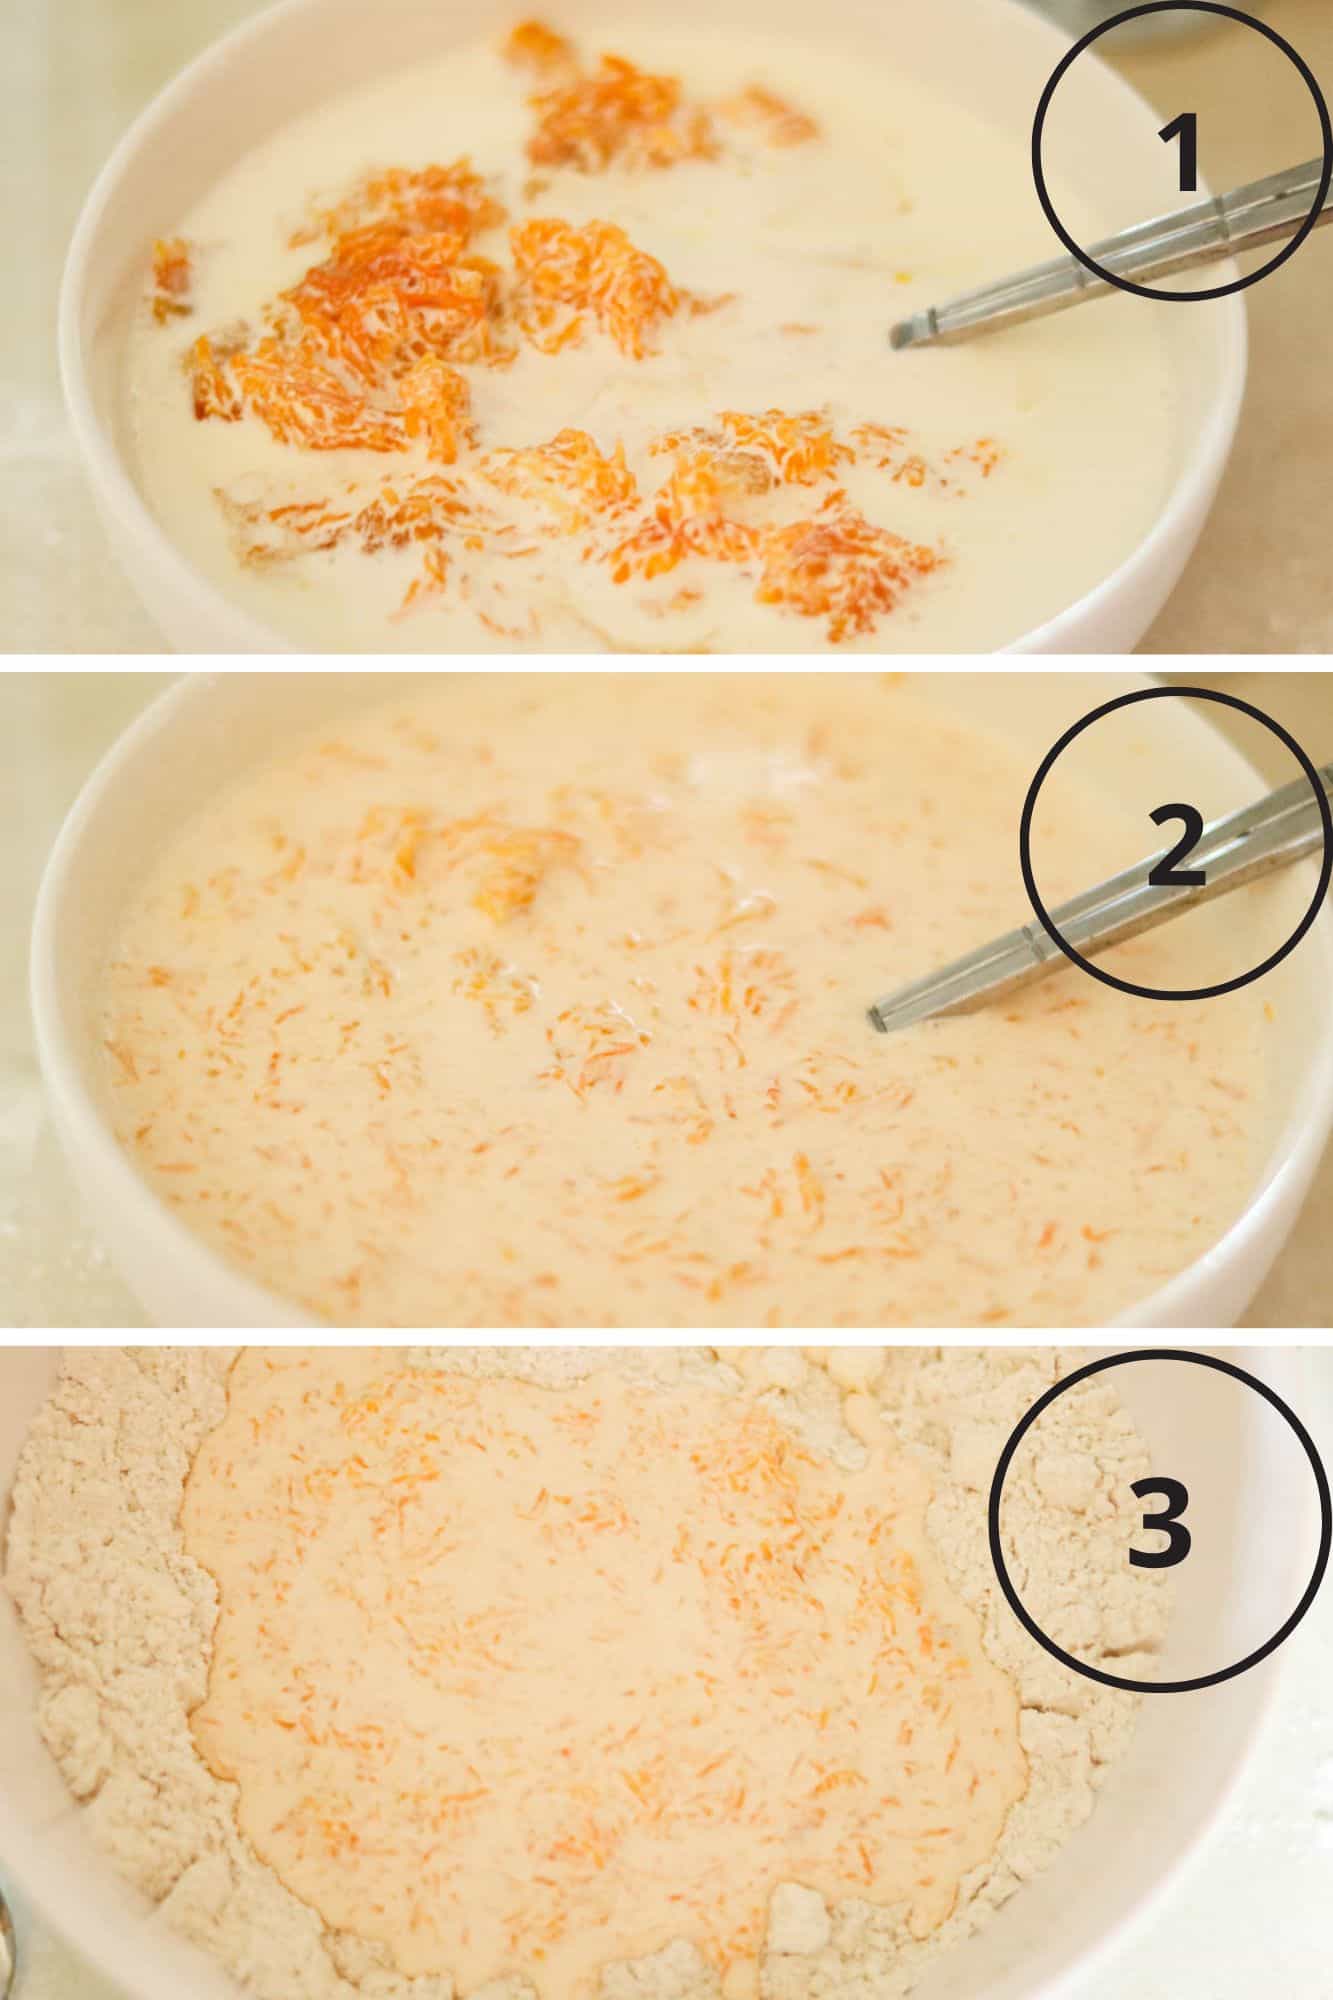
- Gather the ingredients.
- Blend together the dry ingredients in a bowl.
- Cut the butter into the dry ingredients.
- Add the wet ingredients to the dry ingredients.
- Stir until a dough forms.
- Place the baking sheet with the prepared scone dough in the freezer.
- Bake and serve!
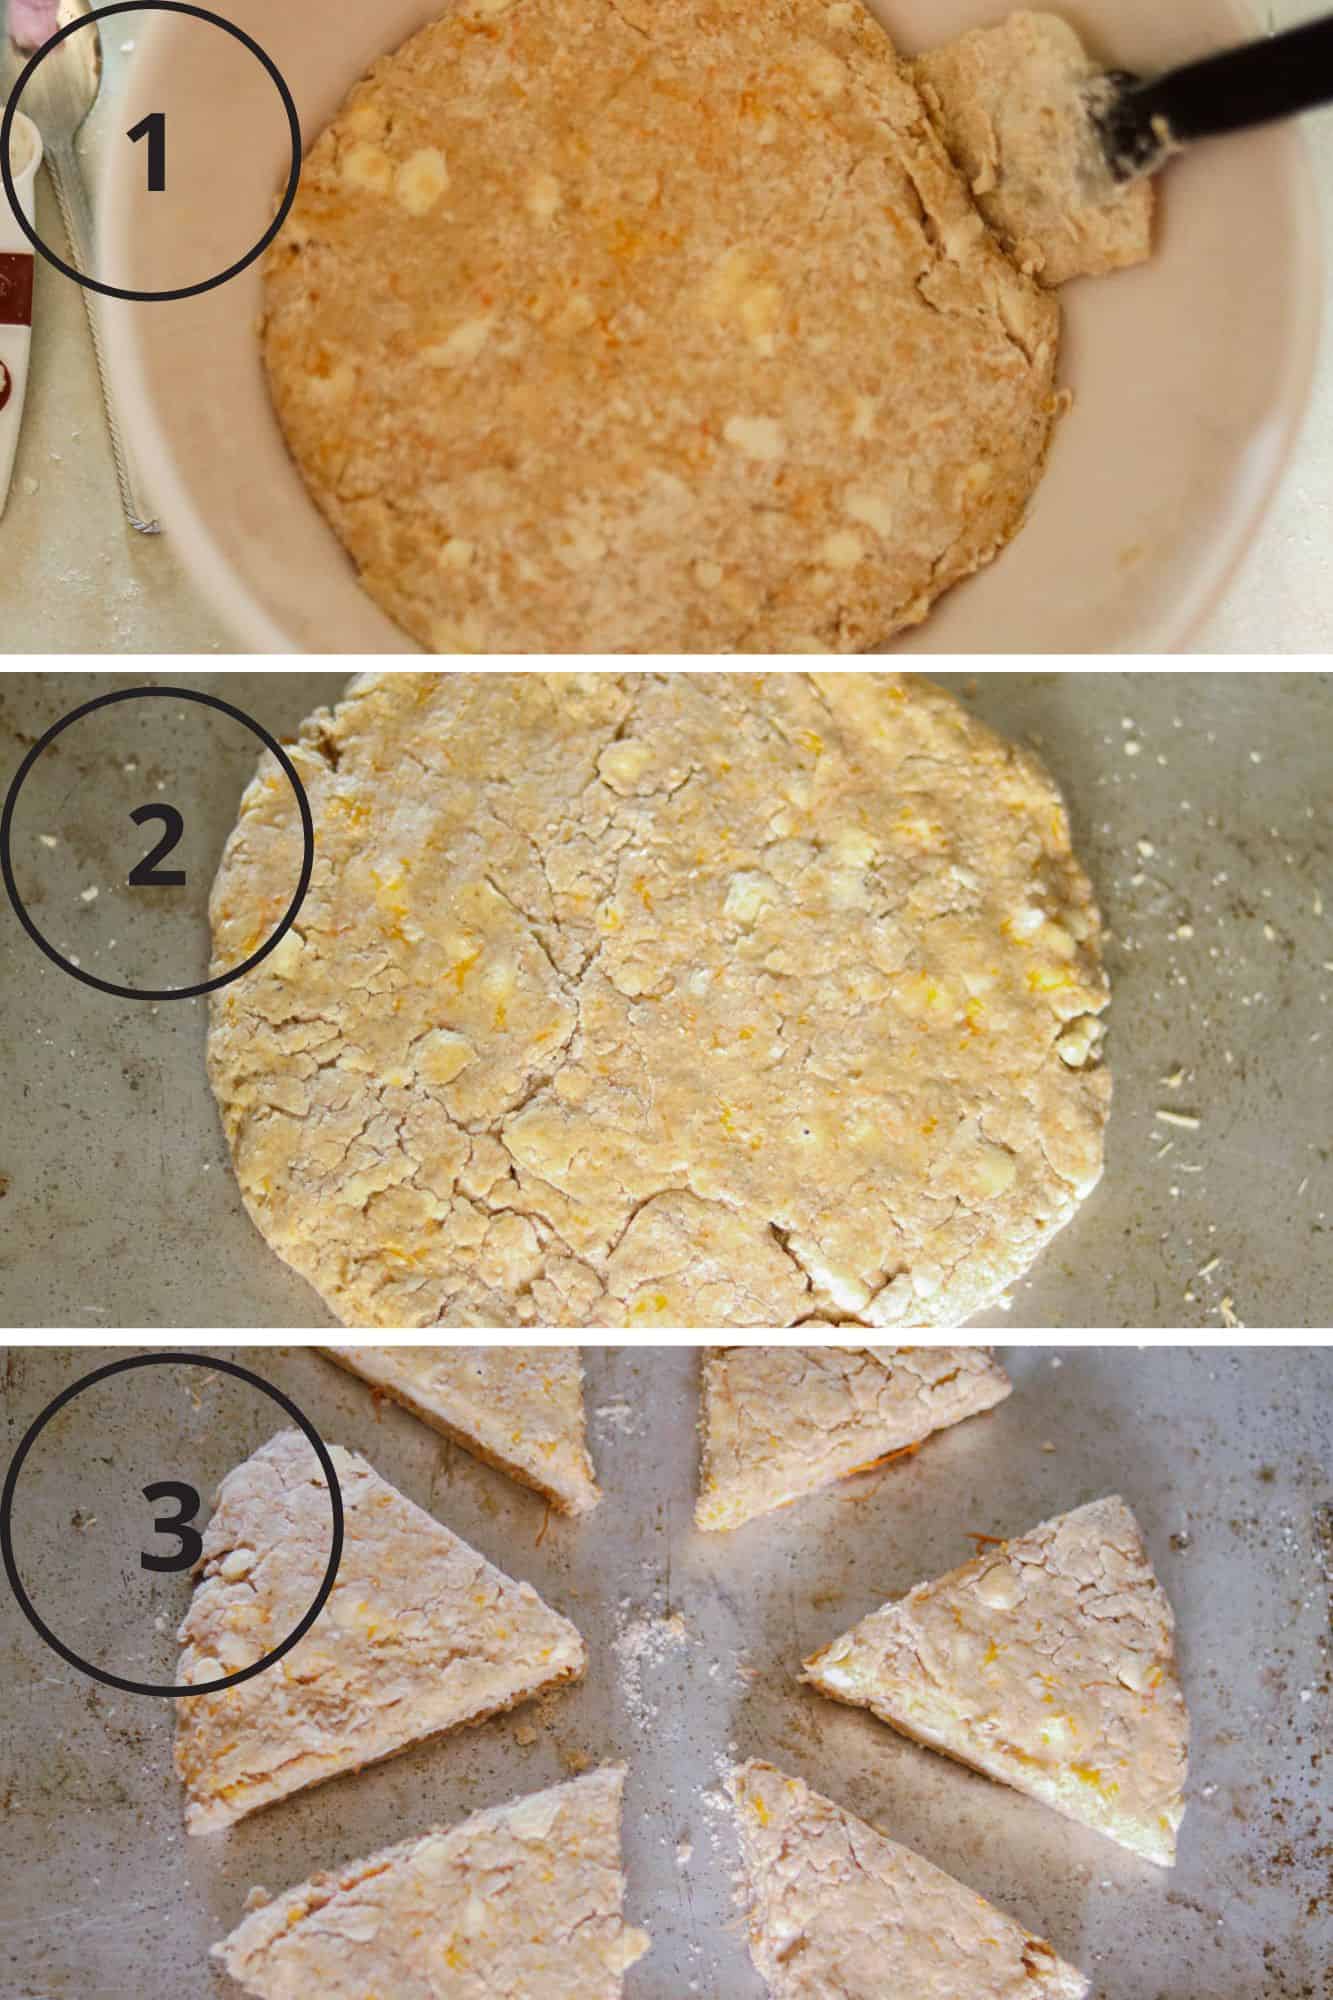
When cutting the butter into the dry ingredients, you can use either two knives, a pastry blender, or a food processor. I actually like using a pastry blender. Not only does it make for less cleanup because you don’t have to wash your food processor bowl (just your pastry blender), I also like the added control you get from cutting in the butter by hand. In the food processor, you really have to watch that the butter pieces don’t end up TOO small.

What Is The Secret To Making Good Scones?
There is nothing worse than going to the trouble of baking something and having it not come out right. Scones should be soft with a tender crumb, along with being fluffy and tall. I’ve got tips and tricks to help you with scone success!
Here are my expert tips for tall and fluffy scones:
- After you have mixed the dough and cut it into scones, freeze it right on the baking sheet before putting them in the oven. Cold dough = tall fluffy scones!
- You will only need to freeze the dough for maybe 10 minutes. It doesn’t take long!
- Before assembling your dough, make sure your heavy cream, butter, and pumpkin puree are very cold. This helps the scones rise more.
- Cold ingredients and freezing the dough briefly prior to baking both go a long way to ensure tall fluffy scones.
More Recipe Tips For Easy Pumpkin Scones
These pointers are also covered in the recipe card, but I wanted to highlight them here as well.
- If you are using homemade pumpkin puree, be sure to put the amount you will need into a colander or mesh sieve to drain excess water out. You can skip this step if you are using canned pumpkin.
- Once you add the cream, pumpkin, and vanilla to the dry ingredients the dough will still seem dry. Try to avoid the temptation to add more cream. This dough will come together with some stirring or using your hands. If you really need to, add more cream 1 tablespoon at a time. You should not need more than 2 tablespoons of additional cream at the most if any needs to be added.
- When the dough is ready, you don’t need to turn it out onto a floured board. Just lightly flour the baking sheet and put the dough directly on it to shape into a round.
- It does take a little kneading to get all the dry bits moistened when working the dough, but don’t be worried about overworking it. They will still come out nice and soft.
Can You Freeze Scones?
Yes you can, here’s how:
- After baking, allow them to cool completely.
- Once cooled, place them in a gallon freezer bag with parchment or wax paper in between to keep them from sticking together once frozen.
How To Defrost Scones:
Remove them from the freezer and let them sit on the kitchen counter until defrosted. It will take at least a couple of hours, maybe longer.
You can also try the defrost feature of your microwave, though I have never used this method so I’m unsure how they would come out.
How To Reheat Scones:
You can reheat them for 5 minutes or so in a 300 degree oven, or pop them in the microwave for about 30 seconds for one scone.
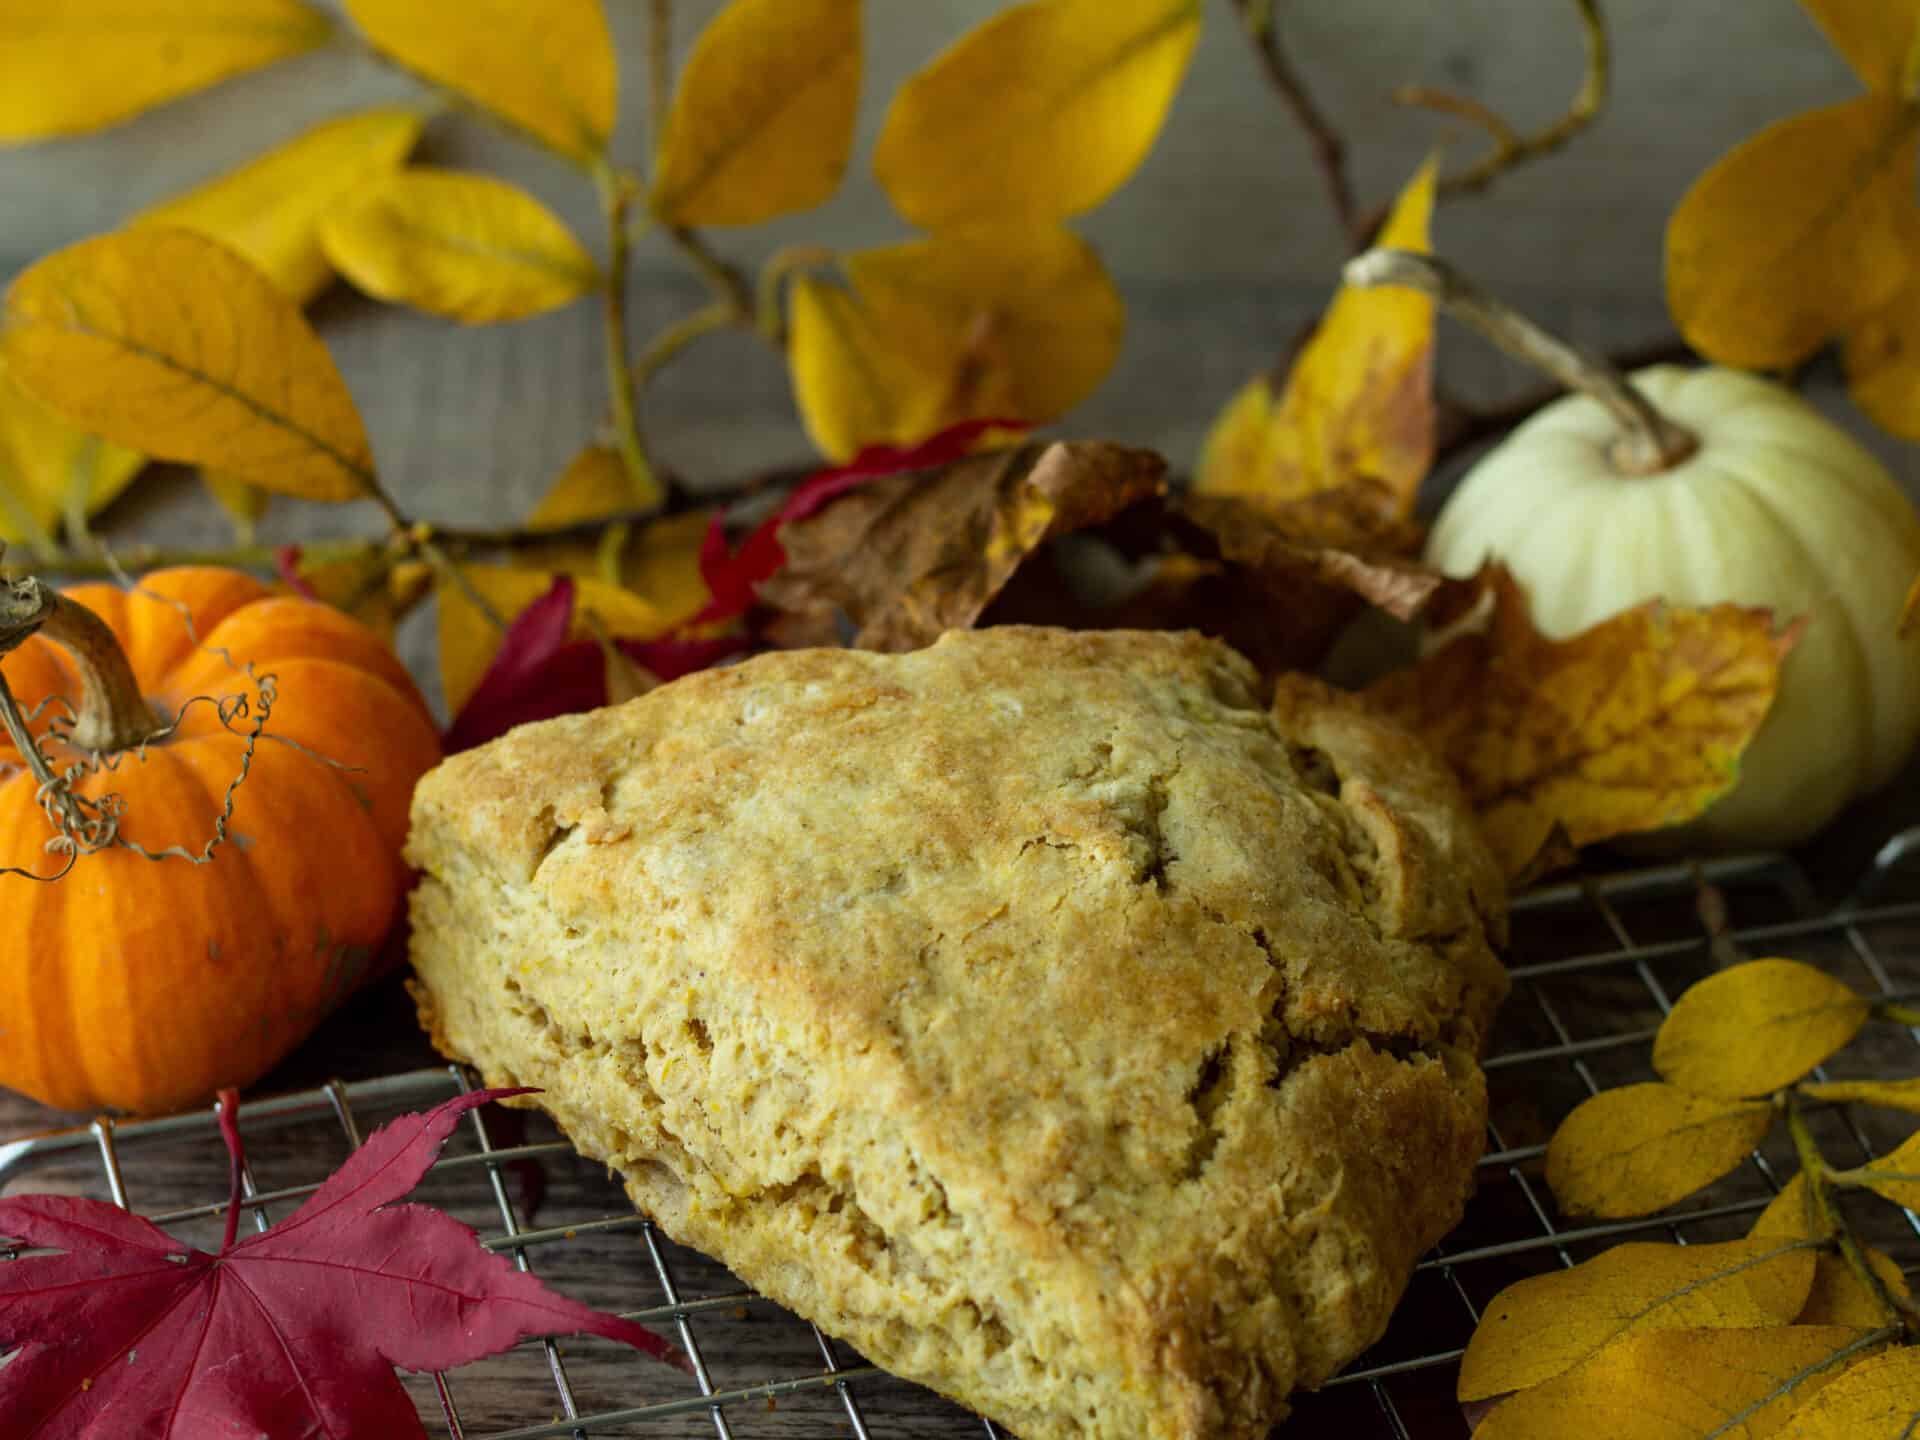
How To Serve Easy Pumpkin Scones
I love to make these on a cool foggy morning and enjoy them with a cup of hot tea. If you use canned pumpkin they can even be made year round! Because they are great the next day, you can make them ahead of time, and just pop one in the microwave for a few seconds to warm it.
These classic pumpkin scones are a lovely addition to a Brunch table with my Zucchini Mushroom Frittata, Vanilla Dutch Baby, or Peanut Butter, Banana, and Oat Muffins.
How To Store Pumpkin Scones
You can refrigerate them, or leave them on a plate on your kitchen counter covered with a dish towel or plastic wrap. If you plan to wait more than a few hours to eat them, I recommend refrigerating them. They will keep in the fridge for about four days.
If you are reading this, thank you for being here. I certainly hope you love these easy pumpkin scones!
If you tried this recipe, I’d love to hear how it turned out! Just leave a rating or comment below.
Recipe questions? Send me an email! I am always happy to help.
If you have not signed up for my newsletter, you can do that below. I have all sorts of exclusive content just for newsletter subscribers, and I’d love for you to join. Happy Cooking!
Print
Easy Pumpkin Scones
These Easy Pumpkin Scones are a great make ahead morning treat, and they have all those Fall flavors you love.
- Total Time: 1 hour 10 minutes
- Yield: 6 Scones 1x
Ingredients
- 3 cups All Purpose Flour
- 4 tsp Baking Powder
- 1/4 tsp Salt
- 1/2 tsp Ground Ginger
- 1/4 tsp Nutmeg
- 1 tsp Ground Cinnamon
- 1/4 cup Light Brown Sugar
- 1/4 cup Granulated Sugar
- 1/2 cup Unsalted Butter
- 1 tsp Vanilla Extract or Paste
- 2/3 cup Pumpkin Puree
- 1 cup Heavy Whipping Cream
Instructions
- In a large bowl, combine 3 cups flour, 4 tsp baking powder, 1/4 tsp salt, 1/2 tsp ginger, 1/4 tsp nutmeg, 1 tsp cinnamon, 1/4 cup light brown sugar, and 1/4 cup granulated sugar and whisk well to incorporate.
- Cut 1/2 cup unsalted butter into cubes, and use a pastry blender or two knives to cut the butter into the flour until the butter pieces are pea-sized.
- In a small bowl, combine 1 cup heavy cream, 2/3 cup pumpkin puree and 1 tsp vanilla and stir well.
- Add the wet mixture to the dry mixture, and using your hands or a rubber scraper mix the ingredients together until the dry ingredients are well incorporated into the wet mixture. You may add 1 or 2 tbsp of additional heavy cream if you feel it is needed.
- Once a soft and slightly sticky dough has formed, lightly flour the center of a rimmed baking sheet, and turn the dough out onto it.
- Using your hands, form the dough into a large circle about in 1 inch thick. Using a bench scraper or a knife, cut the dough into six wedges and separate them so they are about a half inch apart.
- Turn oven on to 425 degrees. While the oven is heating, place the rimmed baking sheet of scones into the freezer for about 10 minutes.
- Remove the baking sheet from the freezer and place in the center of the oven. Bake for 20 to 25 minutes until the tops are slightly firm and light golden, check doneness after 15 minutes.
Notes
- Canned pumpkin or homemade pumpkin puree may be used.
- Don't worry about overworking the dough when adding the wet ingredients.
- Be sure not to skip the step of freezing the dough, it helps with rise and flakiness.
- If you are using fresh pumpkin puree, be sure to place it in a colander with small drainage holes or a fine mesh sieve to drain out excess water before using the puree.
- Once you add the wet ingredients to the dry ingredients, the dough will seem dry. Combining the ingredients together will moisten the dough. If your dough still seems really dry and not slightly sticky (but not too wet) then you can add one or two more tablespoons of cream if needed.
- It will take a bit of kneading and working to get the dough to come together, don't be worried that you will overwork it.
- Prep Time: 30 minutes
- Additional Time: 15 minutes
- Cook Time: 25 minutes
- Category: Breakfast and Brunch
- Cuisine: American
Nutrition
- Serving Size: 1
- Calories: 574
- Sugar: 18
- Sodium: 440
- Fat: 30
- Saturated Fat: 19
- Unsaturated Fat: 10
- Trans Fat: 0
- Carbohydrates: 68
- Fiber: 3
- Protein: 8
- Cholesterol: 85






These look amazing! Thank you for visiting Tell It To Me Tuesday. I hope to see you again this week!
You have given me some ideas. I have never had time better, but I’m willing to give it a try. We have time going in our garden in abundance.
Thank you for sharing your post at the Sunday sunshine blog hop!
Laurie
The thyme butter is really great with the scones. I hope you give it a try!
I love scones – had to pin this one! Thanks for sharing at the What’s for Dinner party!
Those look so delicious! I want one right now!
So do I Heather! I will be making these soon now that pumpkin season is here!
These sound so perfect for a cozy afternoon tea time on a rainy weekend day. Thanks for sharing on SSPS, hope to see you again next week.
Thank you Estelle!
Love these scones! Perfect for fall mornings!
What a scrumptious Fall recipe. Featuring these when my link party opens!
Thank you for the feature Carol!
A true scone recipe. Ah the days before gluten-free. I am going to try and covert this to gf and df and ill let you know how it goes! Thanks for the scones recipe.
You’re welcome Jules, I hope your adjustments work well!
These scones are delish and have the perfect texture! I had fun making these. Thanks for the recipe 🙂
That’s great to hear Lilly! Glad you enjoyed them!
These scones sound fantastic! I am especially excited about the thyme maple butter. My hubby just bought me a lemon thyme plant and I think this will work perfectly in the maple butter!
Thank you Cindy! Lemon thyme would be great in the butter!