Chorizo Biscuits And Gravy
I love a good hearty breakfast, don’t you? Biscuits and gravy is one of my all time favorites. This recipe for Chorizo Biscuits and Gravy is a twist on an iconic Diner classic! The tender and flaky homemade biscuits are smothered in a spicy chorizo gravy studded with chopped fresh veggies that add flavor and color. Both are easy to make, even if you have never made homemade biscuits or sausage gravy before. In this post, I’ll show you how to cook an amazing and tasty breakfast you’ll love. You may love it so much, that you are finding yourself making it for dinner too!

Chorizo Biscuits And Gravy
There is hardly anything more comforting than biscuits and gravy, am I right? I wanted to do something a little different with it, and this recipe is the result. While I still very much enjoy the traditional version of this dish, I really like it this way and I hope you do too!
Why You’ll Love This Gravy Recipe
I like cooking with chorizo, and a few years back I started making biscuits and gravy using chorizo once in a while, and I have to say I just love it! The spice does a great job of adding balance and brightness to the rich and creamy gravy.
To add some color, texture, and a little extra heat, there are red bell peppers, onion, jalapeno, and poblano chile in the gravy as well. You normally don’t find veggies of any sort in a recipe for sausage gravy, and I think they are a great addition!
This recipe is another great use for some of those fresh veggies from the Farmers Market or grocery store!
What Is Chorizo Made Of?
The type of chorizo used in this recipe is Mexican Chorizo. It is made of fresh ground pork and seasonings such as paprika and garlic.
It is different from the Spanish variety, which uses smoked pork to make the sausage, and is a hard sausage almost like a salami.
What’s The Difference Between Regular Sausage And Chorizo?
Basically, sausage and chorizo are the same thing. Chorizo is simply a type of sausage.
Is Chorizo A Hot Sausage?
Most chorizo is spicy, usually spicier than hot Italian Sausage. I personally find most chorizo is not terribly spicy, but I do have more of a spice tolerance and I like spicy food! The milk in the gravy along with the biscuits do a great job of balancing the heat from the sausage.
How To Make Chorizo Biscuits And Gravy
Because these are two separate components, I decided to split them up so that it was easier to read and keep track of the various tips and tricks.
This is a basic overview of how to make both the chorizo sausage gravy as well as the biscuits. For full detailed instructions, please see the recipe card at the end of the post.
Chorizo Gravy
Can you make sausage gravy with chorizo? Yep, we’re doing it! I really like this gravy, and I hope you do too! I even threw some fresh veggies in there (because why not?) to add flavor and texture!
This gravy is made in the same way as any other sausage gravy, but we are using chorizo rather than pork breakfast sausage as well as adding the veggies.
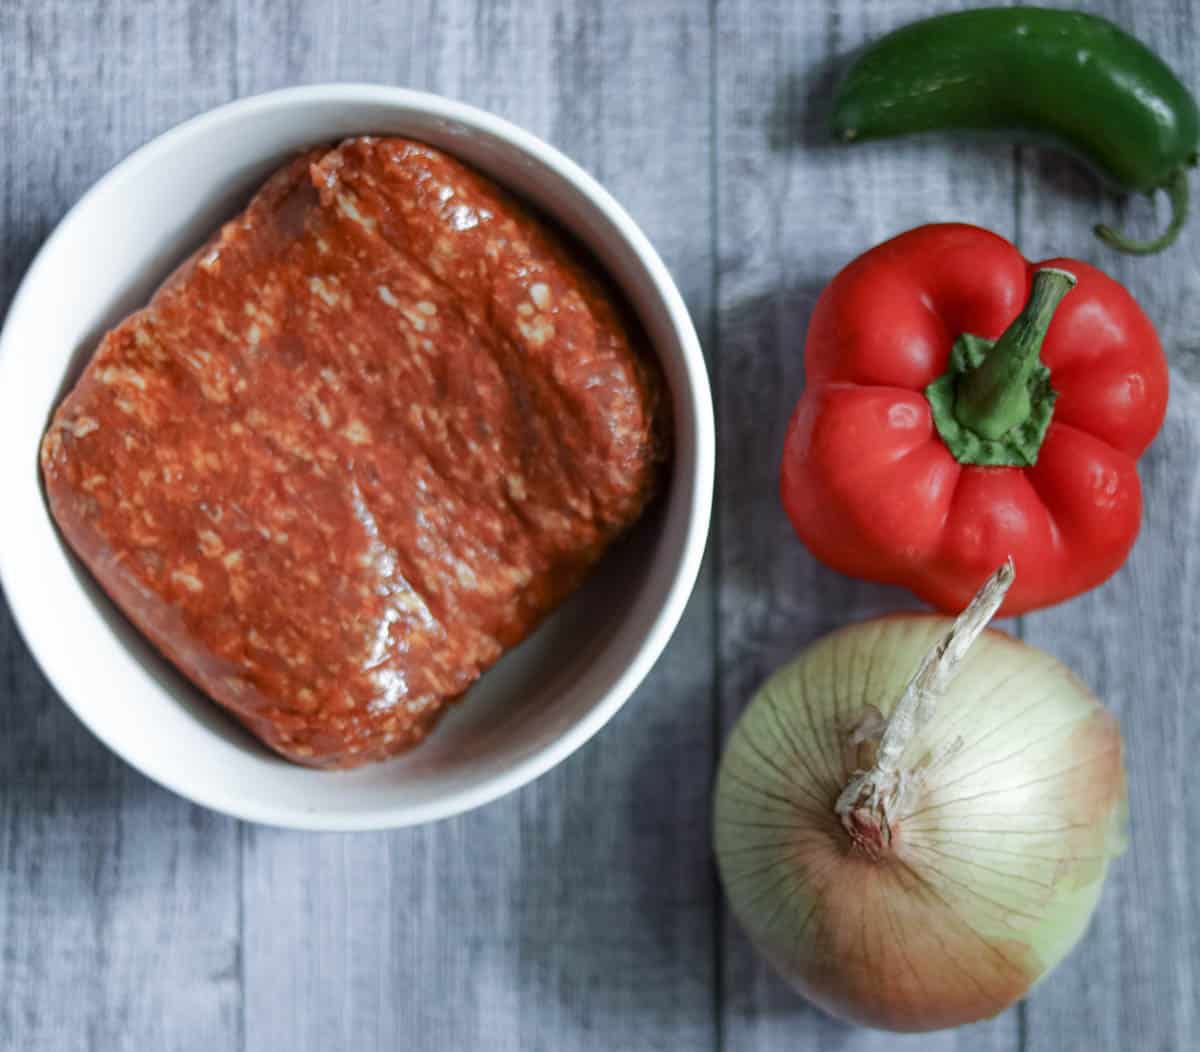
Ingredients For Chorizo Gravy
Chorizo- Be sure to use ground chorizo, not the smoked chorizo links that are similar to salami.
Yellow Onion- Don’t skip the onion, it adds great flavor!
Red Bell Pepper- Not only does the red pepper add color, but it adds a little sweetness as well.
Poblano Pepper- This mild chile brings flavor without too much spice!
Jalapeno- Adds a little extra heat!
All Purpose Flour- You will need flour to make the roux to thicken the gravy.
Milk- It wouldn’t be a sausage gravy without milk, right?
Salt and Pepper- You don’t need much, as the chorizo is already seasoned.
How To Make The Chorizo Gravy
This gravy uses a roux made from the chorizo’s rendered fat and flour to thicken the gravy.
- Chop the vegetables.
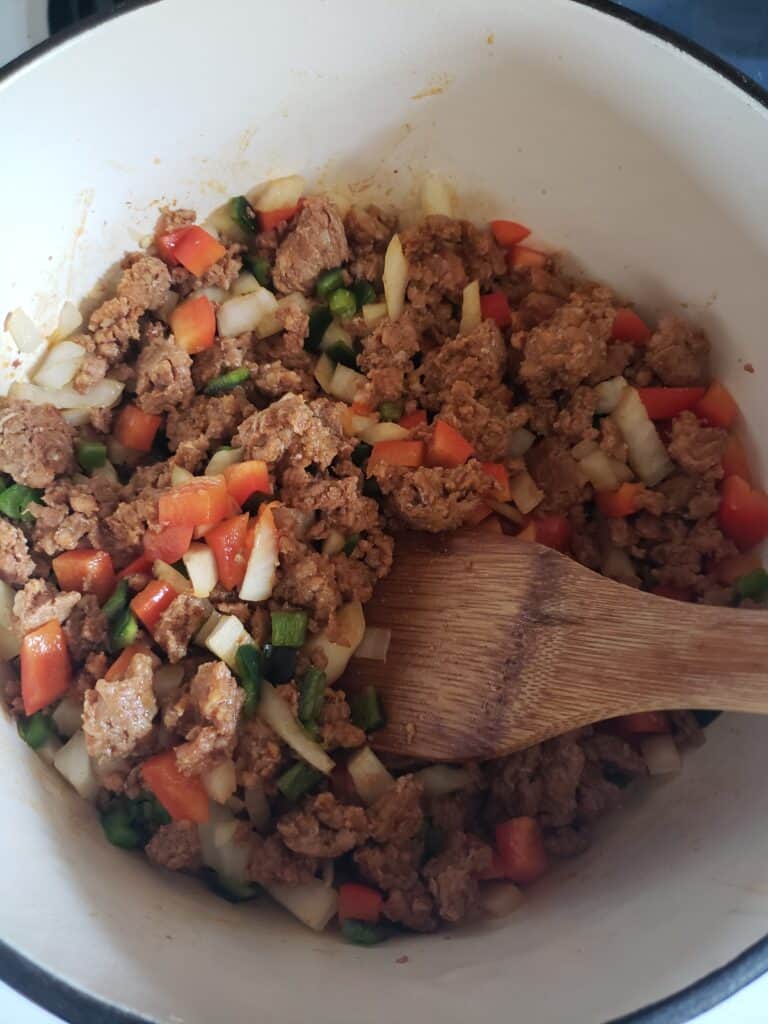
- Add the chorizo to the pot to brown.
- Then, add the vegetables to saute as the meat browns.
- Once the meat is browned, add the flour and cook until the fat has absorbed the flour.
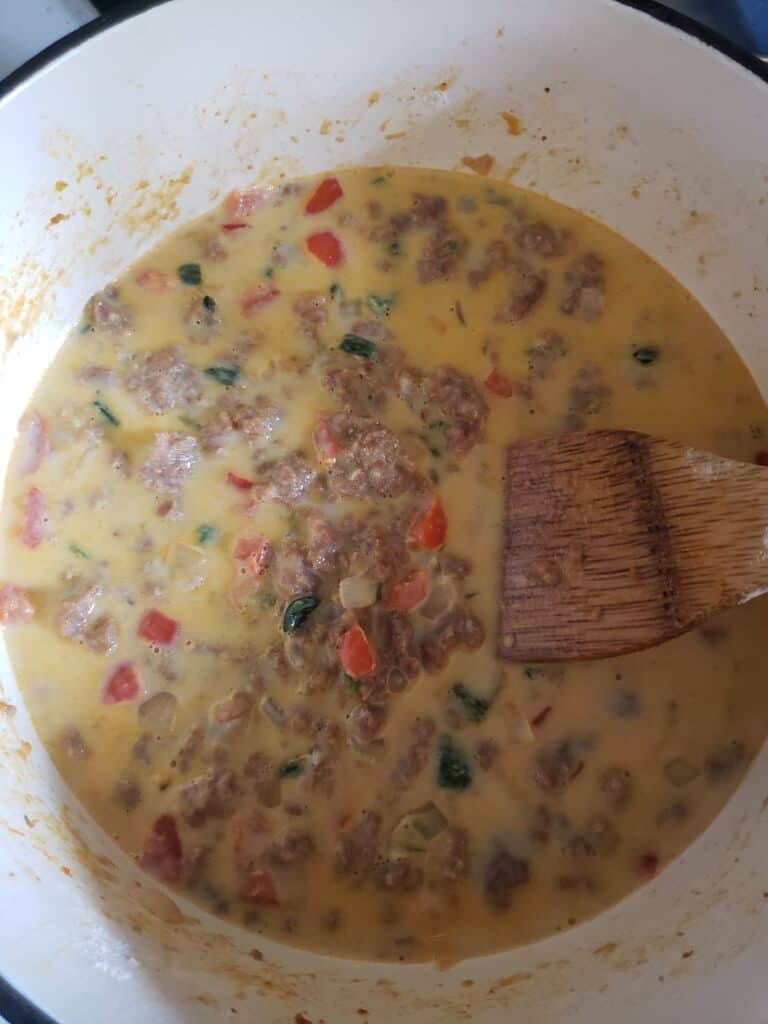
- Add the milk and salt and pepper and reduce the heat to a simmer until gravy is done.
I have many more tips and full instructions down in the recipe card. Now, on to the biscuits!



Old Fashioned Buttermilk Biscuits
You can’t have biscuits and gravy without biscuits! I love a good biscuit, don’t you? They are easier to make than it would seem. Even if you have never made them before in your life, I am going to give you all the helpful tips you need!
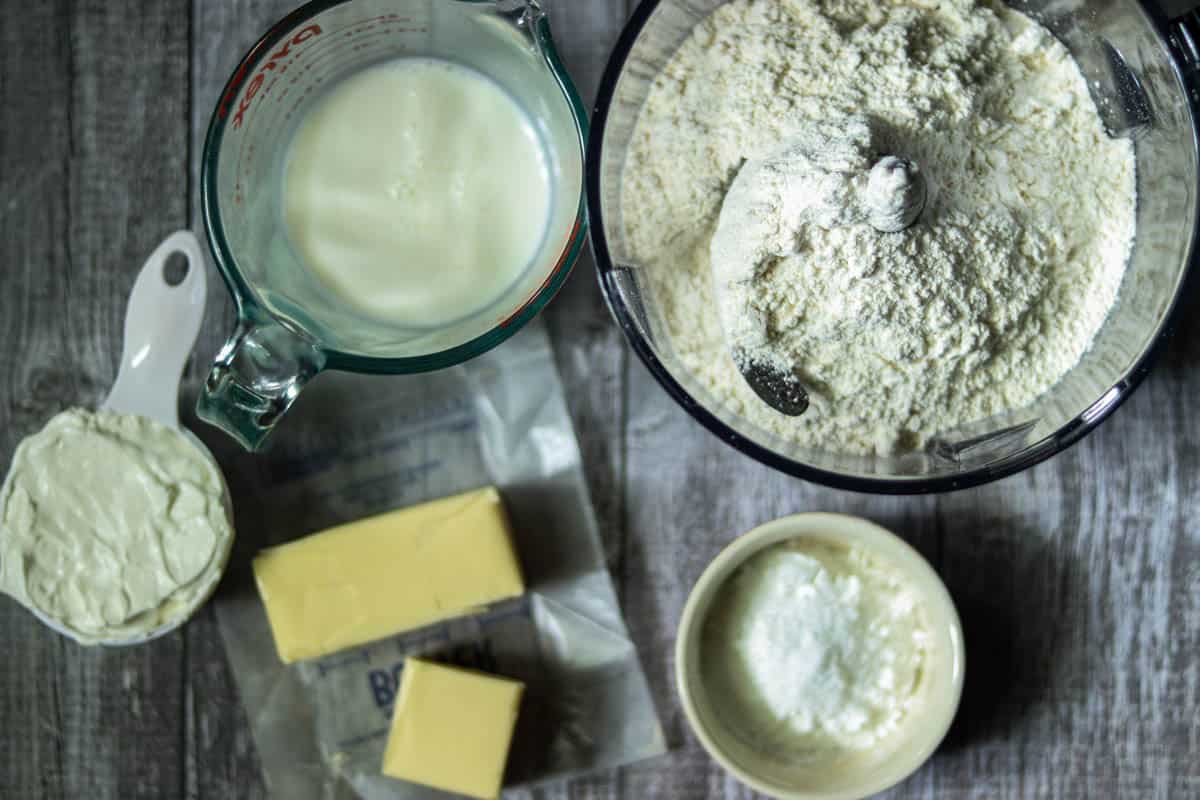
Ingredients For Buttermilk Biscuits
All Purpose Flour- Good old all purpose is just fine for this recipe, it is what I have always used to make biscuits. No need for anything special!
Baking Powder- This ingredient is critical in helping to create rise.
Baking Soda- Works alongside the baking powder to help the biscuits rise. Baking soda reacts with the acid in the buttermilk and sour cream.
Salt- Not much is needed!
Unsalted Butter- You don’t need anything fancy here, just be sure it is unsalted so that it won’t add too much salt to the dough, making for salty biscuits.
Sour Cream- The extra fat in the sour cream adds extra tenderness to your biscuits. Don’t use light sour cream, go for full fat!
Buttermilk- Gives biscuits that signature tang. I like using full fat buttermilk when I can find it, but if all you can find is low fat (that is the most widely available type of buttermilk) that is perfectly fine.
How To Make Old Fashioned Buttermilk Biscuits
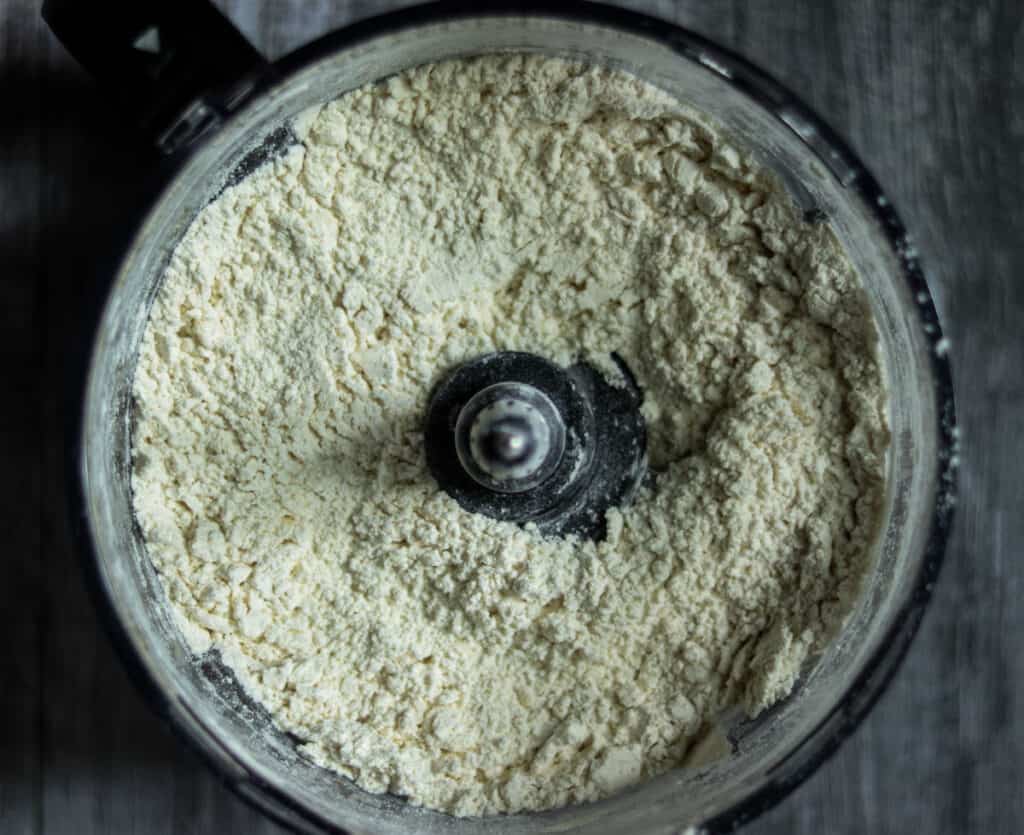
- Add the salt and baking powder to the flour.
- Cut the butter into the flour.
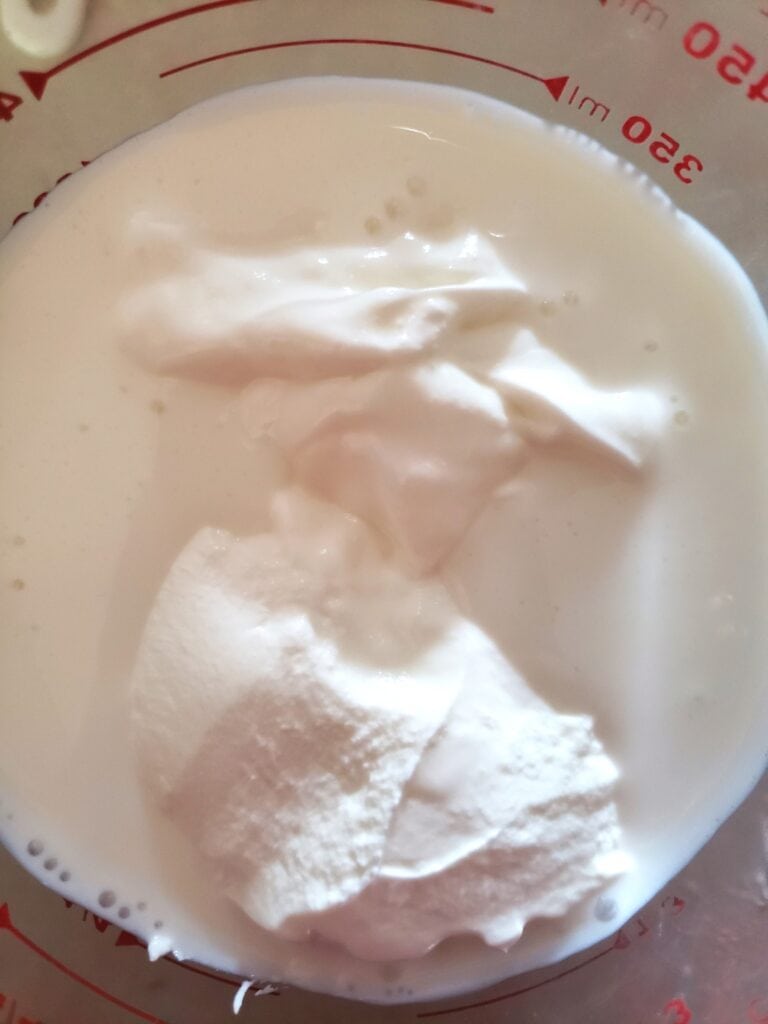
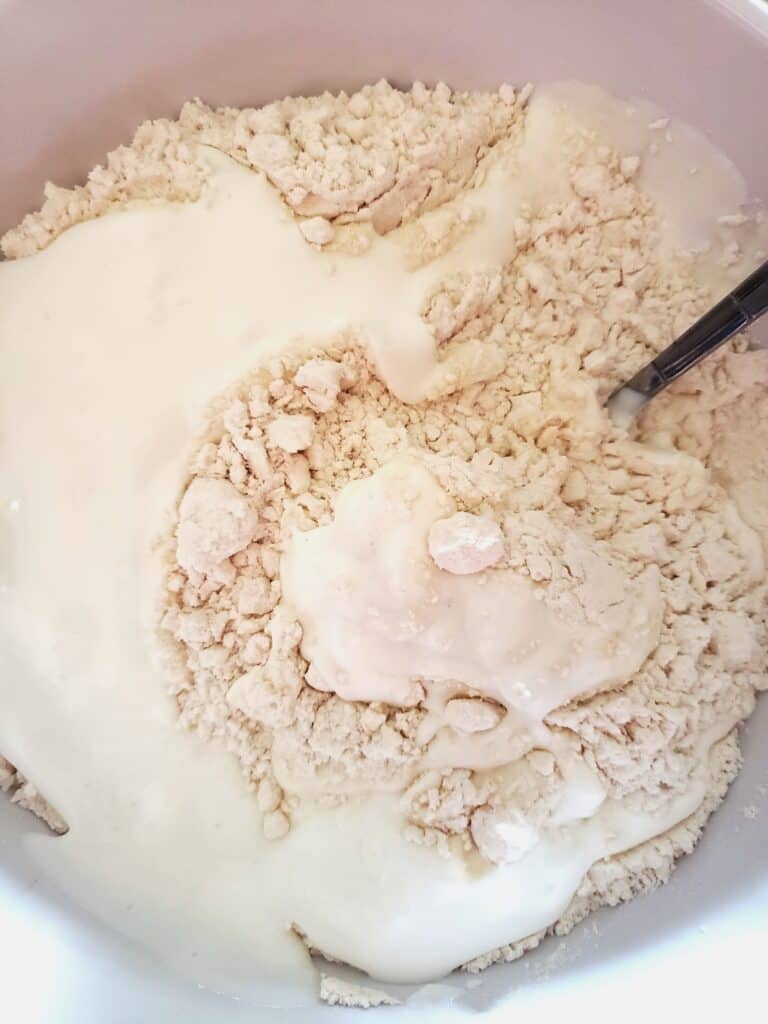
- Add the sour cream and buttermilk to the flour.
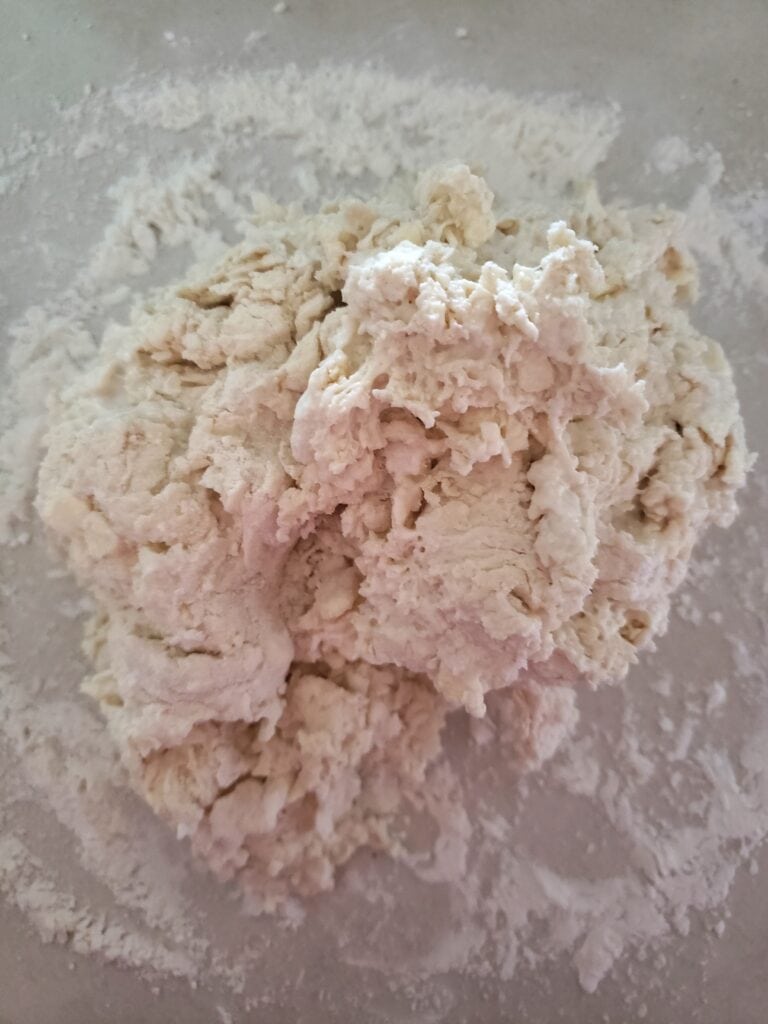
- Stir lightly to form a shaggy dough (it will be wet!)
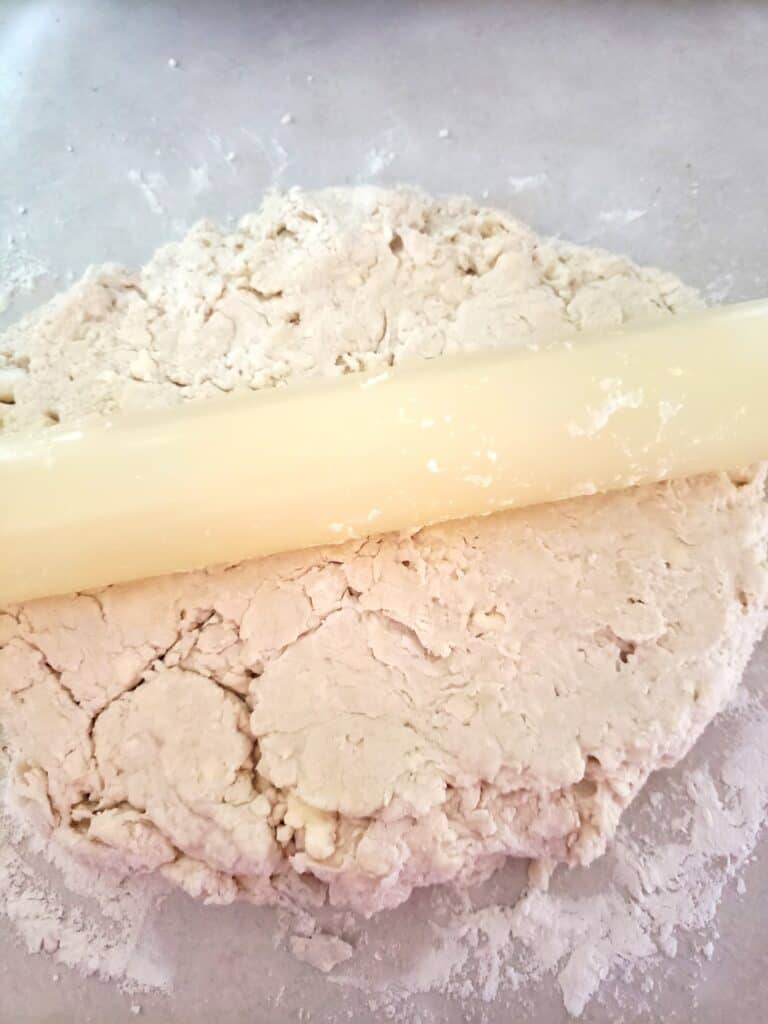
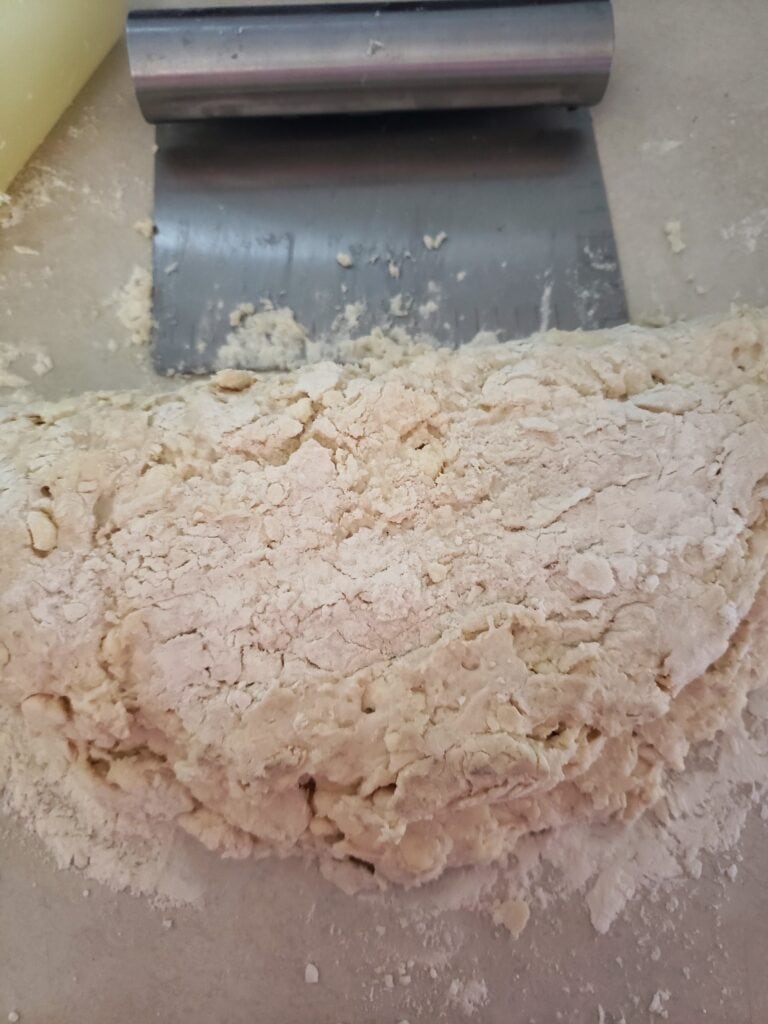
- Roll out the dough on a floured surface and fold in half, roll out again, then fold in half again and cut into biscuits.
- Place them on a rimmed baking sheet and freeze for about ten minutes before baking.
For more comprehensive instructions and additional tips for rolling out the dough, head on down to the recipe card!


Tips For The Best Flaky Biscuits
What is the secret to Southern biscuits? Here are a few helpful tips:
- Don’t overwork the dough. You will need to handle it some to roll it out and cut it, but handling it too much makes for tougher biscuits.
- Don’t skip the step of popping the cut biscuits (sheet pan and all) into the freezer for a few minutes prior to baking. Cold dough gets you a higher rise!
- Start out with cold ingredients! Don’t let your butter, sour cream, and buttermilk be too warm. They should be used straight from the refrigerator. Cold ingredients mean flakier biscuits!


Is Butter Better Than Shortening For Buttermilk Biscuits?
In my opinion, yes. Butter is better! Shortening makes for a more cake-like texture, and the biscuits are more crumbly than flaky when shortening is used.
Also, when using shortening for biscuits they will not rise as high because shortening does not provide the extra steam that butter does, and the steam gives you that height you want.
What Does Buttermilk Do For Biscuits?
First of all, it provides that signature tangy flavor! Buttermilk also adds its own fat, along with being a liquid that forms the dough. The acid in the buttermilk works alongside the baking powder and baking soda to create rise.
Can Biscuits and Gravy Be Made In Advance?
Yes, they can! The gravy can be made in advance and reheated in the microwave or on the stove in a saucepan on low heat until warm. If you choose this method, don’t allow the gravy to simmer, it may reduce it down further and make it too thick.
The biscuits can be made ahead also, and stored on a plate with plastic wrap in the refrigerator for a day or so.
How To Store Leftover Biscuits And Gravy
Whether you are making this recipe in advance, or you happen to have some leftovers, here are some helpful storage tips:
- If you plan to store the biscuits more than a day, put them in a gallon size freezer bag and keep them in the refrigerator for up to one week. To warm them, a few seconds in the microwave is all you need.
- The gravy will keep refrigerated in a glass or plastic container with a tight fitting lid for up to one week. To reheat, microwave it for one minute at a time, stirring before heating again, until warm. It can also be reheated on the stove as previously mentioned.
Thank you for reading this post and for stopping by! I really hope you like this recipe for Chorizo Biscuits and Gravy!
If you tried this recipe, I’d love to hear how it turned out for you. Just leave a rating or comment!
Recipe questions? Feel free to send me an email, I am always happy to help!
Please share this recipe with friends on social media so they can find out about it too!
If you have not signed up for my newsletter, you can do that at the bottom of the post. I have all sorts of exclusive content just for newsletter subscribers including a free ebook, and I’d love for you to join. Happy Cooking!
Print
Chorizo Biscuits and Gravy
Chorizo Biscuits and Gravy is a spicier take on a breakfast and brunch classic. The biscuits are easy and can be made ahead if needed. The chorizo gravy has a little spice, along with some red bell pepper and poblano thrown in for extra flavor!
- Total Time: 45 minutes
- Yield: 8 Servings 1x
Ingredients
For The Buttermilk Biscuits
- 3 cups of All Purpose Flour, plus more for dusting
- 2 Tbsp of Baking Powder
- 1/2 Tsp of Baking Soda
- 1/2 tsp of Salt
- 1 1/2 sticks of Unsalted Butter (12 Tbsp)
- 3/4 cup of Sour Cream
- 1 1/4 cups of Buttermilk (may need more or less than this, see instructions and notes)
For The Chorizo Gravy
- 1 pound of Ground Chorizo Sausage
- 1/2 small to medium Yellow Onion
- 1 small to medium Red Bell Pepper
- 1 Poblano Pepper (medium sized)
- 1 small Jalapeno
- 1/4 cup of All Purpose Flour
- 2 cups of 1% Milk
- 1/2 tsp of Salt
- 1/2 tsp of Black Pepper
Instructions
- In the bowl of a food processor, combine the 3 cups of all purpose flour, 2 Tbsp of baking powder, 1/2 tsp of baking soda, and 1/2 tsp of salt and pulse a few times to incorporate the flour with the other dry ingredients.
- Take the buttermilk, sour cream, and unsalted butter out of the refrigerator.
- Measure 1 cup of buttermilk into a large measuring cup or a bowl. Add the 3/4 of a cup of sour cream to the buttermilk and stir. Reserve the remaining 1/4 cup of buttermilk, you may or may not need it (see step number 6) Set the buttermilk and sour cream mixture aside.
- Cut up the 1 1/2 sticks of unsalted butter and add to the food processor. Process on low until the butter is finely chopped and the mixture looks mealy (there should be small pea sized pieces of butter remaining).
- Pour the flour mixture into a large mixing bowl. Add the buttermilk and sour cream mixture to the flour, and use a fork to stir the liquid into the flour.
- Stir gently until a wet shaggy dough forms. If there is still a lot of flour that has not soaked up any liquid, add the remining 1/4 cup of buttermilk to the bowl and carefully stir it in.
- If the dough is still too dry, add more buttermilk one Tablespoon at a time until you have a wet shaggy dough. It should not be too dry, but also not so wet that it will not hold together when rolled and cut.
- Clear a space on your counter top and dust with flour. Turn the dough out onto the floured surface and lightly knead it a few times. You may need to dust it with a little flour to knead it.
- Gently shape the dough into a circle. Roll the dough out until it is about one inch thick. Fold the dough in half and roll again. Then, fold in half one more time and roll it out again into a rough circle one inch thick.
- Using a wide straight sided drinking glass, or cookie or biscuit cutter (you want something that is about 3 inches across) cut out the biscuits, carefully rerolling the scraps if needed. You should yield 8 to 10 biscuits.
- Turn on the oven to 450 degrees and place a rack in the lower middle of the oven.
- Put the cut biscuits on a rimmed baking sheet and place in the freezer while the oven heats.
- While the biscuits get nice and cold, its time to start making the gravy!
- To make the gravy, Place a 4 quart saucepan on medium heat. While the pan heats, dice the bell pepper, onion, jalapeno, and poblano.
- Once the vegetables are cut, place the biscuits in the oven on the lower middle rack. Set a timer for 20 minutes and go back to making the gravy while the biscuits bake.
- Add the chorizo to the saucepan, and cook for about 3 to 5 minutes. After it has started to brown, add the diced veggies. Cook until the chorizo is completely browned and the vegetables are tender, about another 5 to 10 minutes.
- Add the 1/4 cup of flour to the chorizo mixture, and stir until all the flour is absorbed. Cook the mixture another 2 to 3 minutes.
- Stir in the 2 cups of milk, 1/2 tsp of salt and 1/2 tsp of pepper and bring to a simmer. Cook about 5 minutes or a little longer if needed, until the gravy has thickened.
- Check the biscuits for doneness once the timer goes off. They will need anywhere from 20 to 30 minutes. You want them to be a light golden brown on top. Set the timer for another five minutes if they aren't there yet, and check them again.
- Once the gravy and the biscuits are ready, Serve the warm gravy spooned over the biscuits (you can leave the biscuits whole or cut them in half) and enjoy!
Notes
If you want spicier gravy, you can add more poblano, or even chop an extra jalapeno and add it to the other vegetables in the gravy.
The gravy and the biscuits can both be made a day ahead and reheated.
If you don't have a food processor, you can use two knives or a pastry blender to cut the butter into the flour.
- Prep Time: 15 minutes
- Additional Time: 0 hours
- Cook Time: 30 minutes
- Category: Breakfast and Brunch
- Cuisine: American
Nutrition
- Serving Size: 1
- Calories: 688
- Sugar: 7
- Sodium: 1546
- Fat: 45
- Saturated Fat: 22
- Unsaturated Fat: 20
- Trans Fat: 0
- Carbohydrates: 48
- Fiber: 2
- Protein: 23
- Cholesterol: 113




I have never had biscuits and gravy but it does look tasty.
I’m featuring you this week, thanks for sharing with us at the To Grandma’s house we go link party!
Thank you!
I can virtually taste this! Yum! Pinned 📌.
I appreciate you sharing this recipe with Sweet Tea & Friends this month dear friend.
This sounds so interesting–I love biscuits and gravy. What a yummy take on it. Thank you for sharing this post at the Will Blog for Comments #18 linkup. Hope to see you next time also!